How To Manually Add A Printer
Have you bought a new office printer and you don't know how to connect it to your PC? Here are a few simple steps you can follow:
For Windows:
- Open Control Panel > click on Devices and Printers
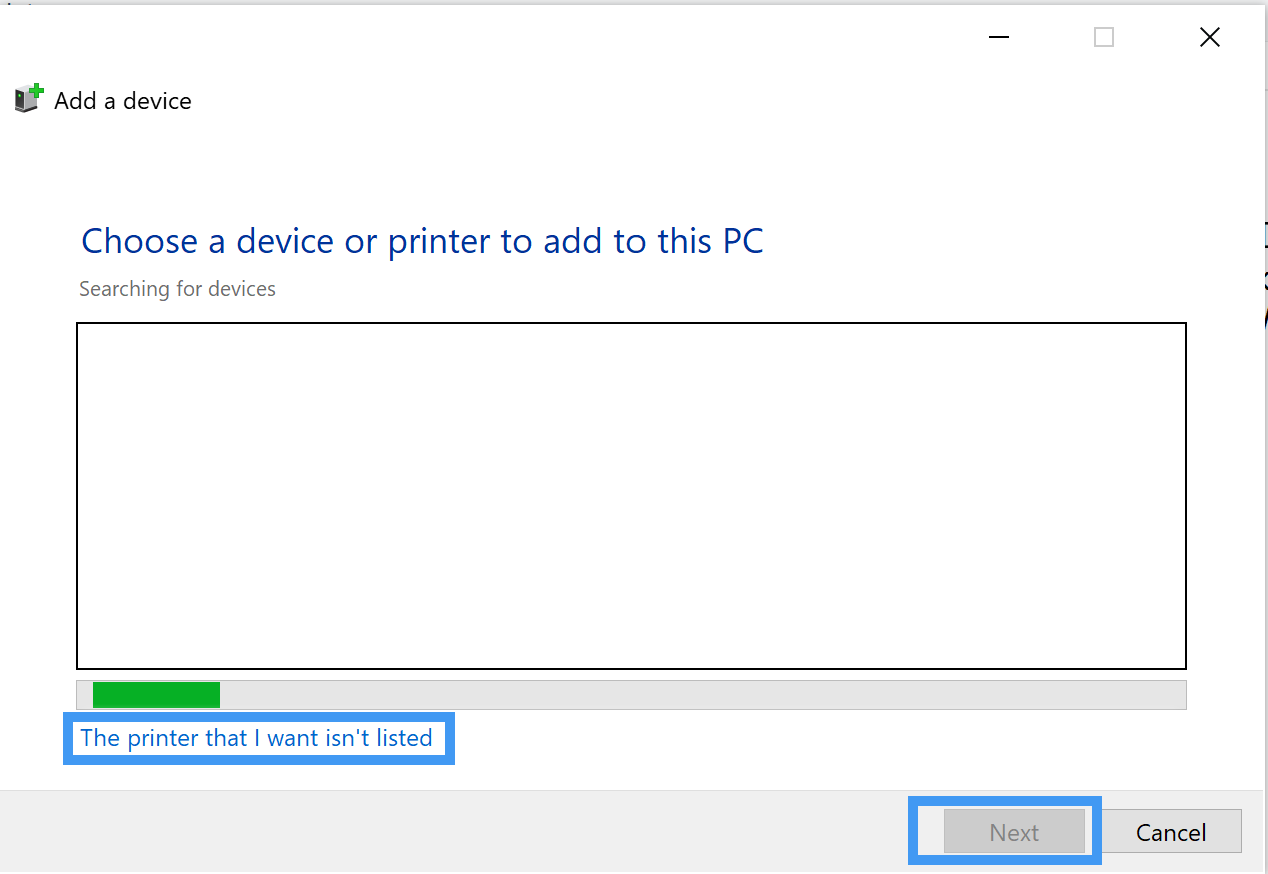
- Click Add Printer and select the printer name if the printer shows on the scan result otherwise click “The printer that I want isn’t listed” then click on Next
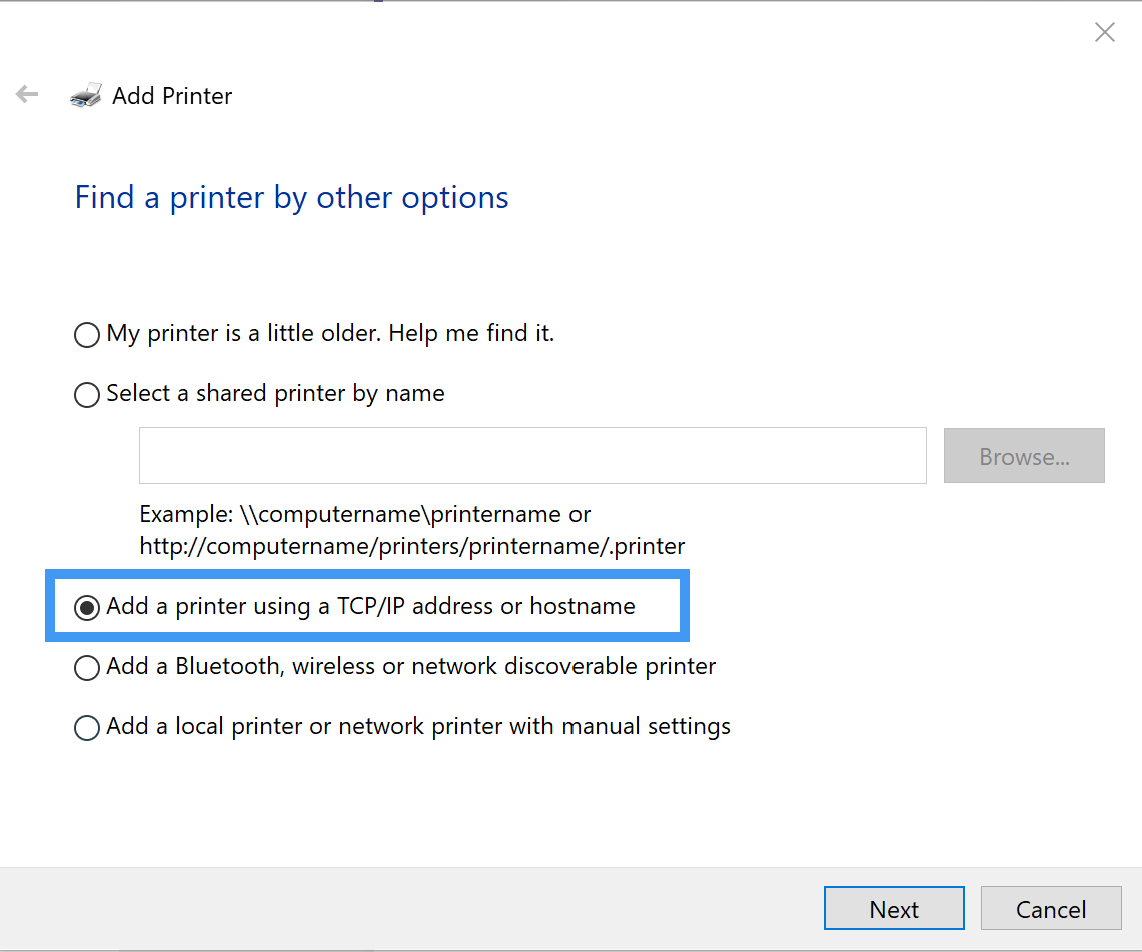
- Choose Add a printer using a TCP/IP address or host
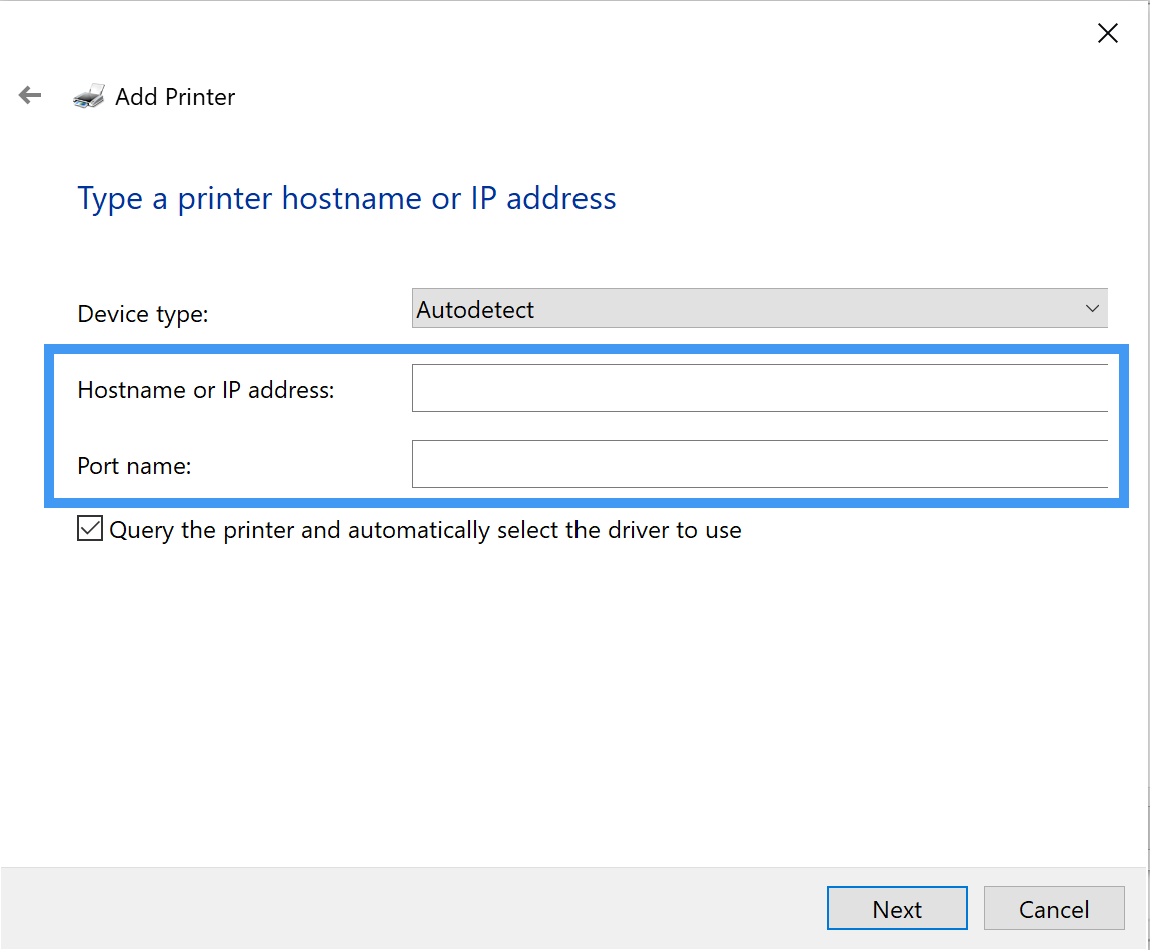
- Input the IP address of the printer then click Next. The printer driver will automatically install. If not, get the printer brand and model then look the driver installer online.
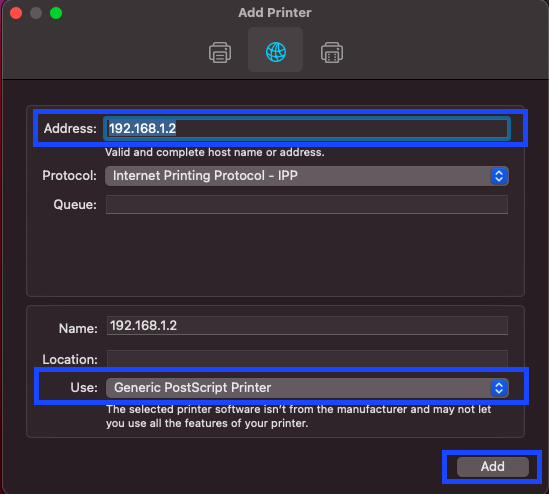
For Mac:
- Click Apple icon then System Preferences
- Click Printers & Scanners
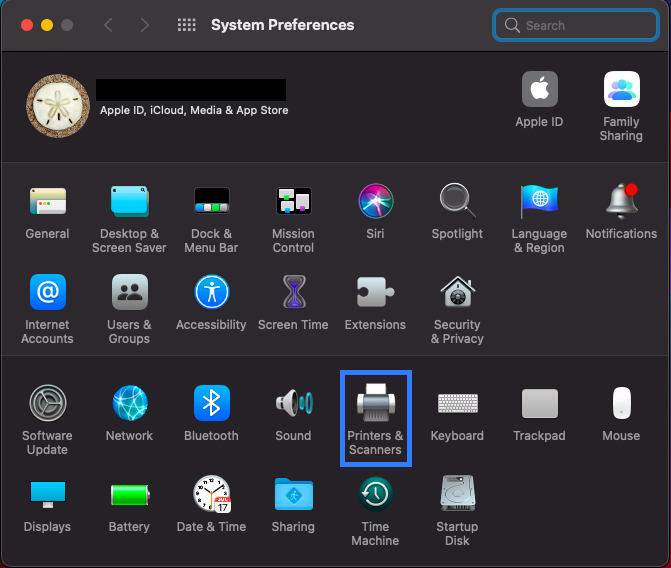
- Click + icon

- Click IP on the top icon then type the printer IP and make sure to choose the correct printer driver aligned Use and click Add.